This is a timer clock awning controller for rain sensor application.
This awning will automated lower down the awning when rain is detected. A timer is available for you to set the operation timing through the week.
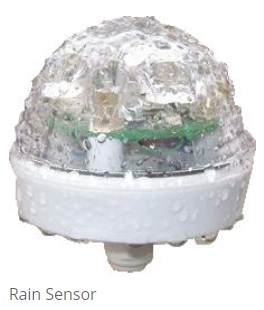
User Operation Introduction
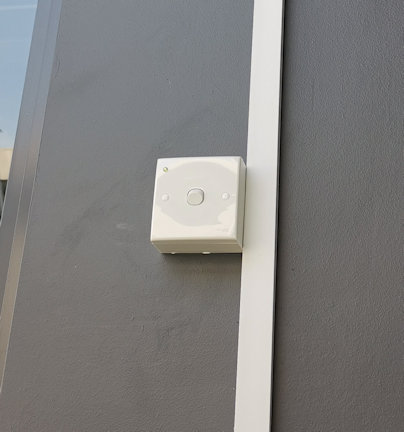
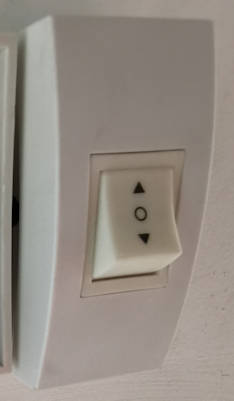
Rain Sensor Switch
This switch on the wall enables user to switch the rain sensing function On/Off.
There is a green LED indicator on this switch. If there is no light on this indicator, it means that the sensing function is not in operation.
A green light on the indicator means that the rain sensing function is enable. A blinking green light indicates rain sensing enable and rain is detected.
If the rain sensing function is enable, the controller will open up the awning when rain is detected.
If the sensing function is disable or when there is no rain detected, the controller allows user to control the awning manually via the awning switches on the wall.
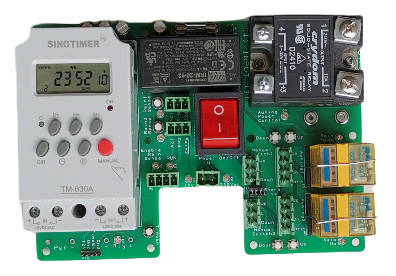
Rain Controller Description
There is a timer on the controller which allows you to set the non-operating hours of the system. Awning can be programmed to retract itself when it is off operating hour. This ensure that the possibility of damage to the awning can be minimise during windy days. When not in operation the controller will roll up the awning to keep the awning properly intact. You may also add your own wind speed sensor to signal the awning to roll up when heavy wind is detected.
Features
- Auto draw down awning when raining and pull up after rain is stopped.
- Allow manual awning control.
- Control awning/rain-sensor operation time period throughout the days of a week. Flexible timer controlled.
- Solid state power control of two awning.
- Allow installation of up to 2 sensor rain. For redundancy.
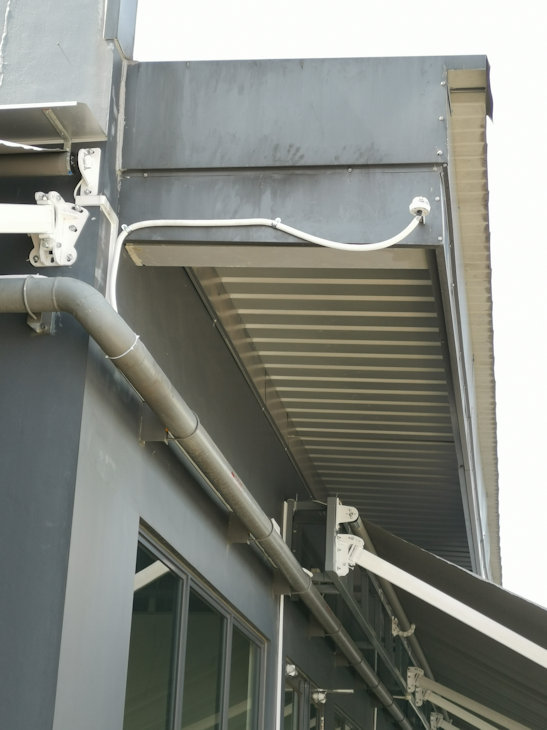
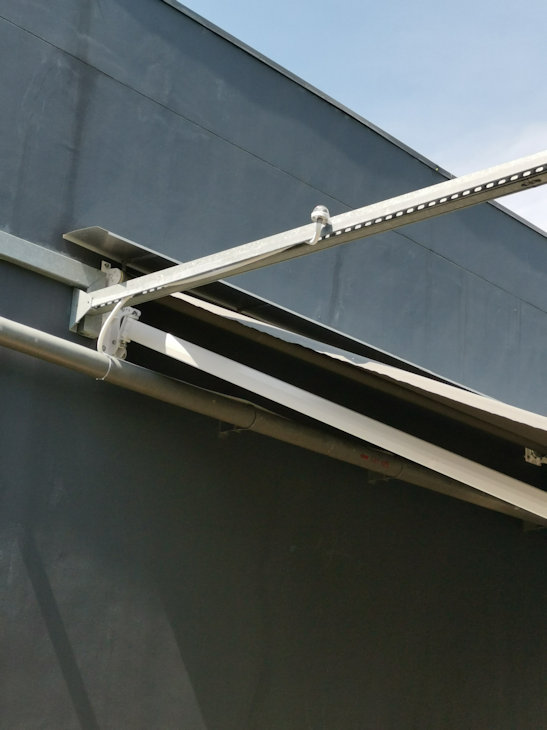
TM-630A timer module settings
The timer module is using a standard product from SINOTIMER model TM-630A. It is used to shutdown the rain sensing system operation during the day/time of the whole week.
The operating manual can be downloaded here. (0.5Mb)
Click here to download.
The module is by default in a lock state. The keypad will not be responsive until the button panel is unlocked.
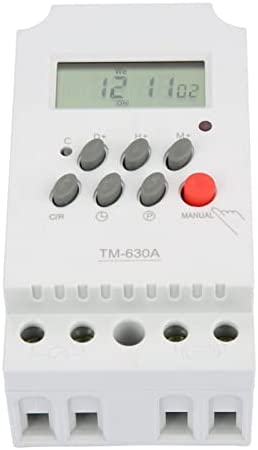
Unlock or Lock TM-630A timer module
- Press the button C/R 4 times, the lock symbol on the screen will disappeared.
- If left unlock for a period of time, the panel will return to the locked state.
- You can press the button C/R 4 times to lock the panel at any time.
Manually control the relay output of this timer module
- After unlocking the panel, press on the Red button (labelled Manual) to toggle the relay output, On and Off.
Setting the relay output to turn on for a specific date/time of the week
- After unlocking the panel, press on the button P to cycle through the programming settings.
- The display will cycle through 1on, 1off, 2on, 2off, 3on, 3off, …. up to 28on, 28off. This allows us to set 28 different period of timing to on/off the relay output.
- 1on means the first set of timing to switch On the relay. (output shorted circuit)
- 1off means the first set of timing to switch Off the relay. (output opened circuit)
- 2on 2off are the 2nd set of timing to switch the relay output on/off. You can set up to 28 sets of day/timing for the whole week.
- Eg. For 1on setup, press the respective button H+, M+, and D+ to set the hour/min/day/days of the week to activate the relay output.
- The same goes to 1off to set the time/day to deactivate the relay out.
- Press on the button P to cycle to the next set. This will also save your settings.
- You can press on the button Clock to exit the programming, and press the button C/R 4 times to lock the panel.
Setting the TM-630A module’s clock
- After unlocking the panel, press the button CLOCK together with the button H+ to set the clock’s hour.
- Press the button CLOCK together with the button M+ to set the clock’s minutes.
- Press the button CLOCK together with the button D+ to set the day of the week.
Controller Operation
- User is able to enable rain sensing mode, which will pass the rights to the sensor to controlling the awning. Disabling the rain sensing mode, allows user to manually control the awning.
- When user leave the system on manual mode, rolling the awning up/down can be controlled via the awning wall switches.
- User can manually control awning when rain sensing mode is enabled and there is no raining detected.
When raining is detected, the system will not allow user to control the awning. The awning will automatically lower down the awning. The awning will not be rolled up. If the user want the awning to automatically roll up when the rain stopped, user can permanently leave the wall switch in the up position. When the rain stopped is detected, the control will be returned to the wall switches. Though if the wall switch is at the roll up position, the awning will proceed to roll up when the rain stops. - After office hour features. This feature will force the awning to roll up after its operating hour. This is to minimise the duration of the awning opened, which minimise the chance of awning being damage by strong wind.
When the rain sensor is enabled, the awning will be force to roll up. If it is still raining after the office hour, the system will allow the awning to be in the lowered position till the rain stops. Once the rain stopped, the awning will be rolled up automatically. - When the timer output is enabled, the rain sensing system will tends to auto roll up to keep the awning during time/day/days set by the timer. If this after-office-hour feature is not needed, the timer module can be removed or unplugged from the system.
- The solid state relay will always be switched off while the relay is switching, and will switch back after the relay switching is done. This is to protect the relay of arching.
- Top relay Off = Manual operation.
Top relay On = Auto Rain Sensor operated.
Bottom relay Off = Force awning to lower. (While top relay is activated)
Bottom relay On = Force awning to roll up. (While top relay is activated)
Indicator Status
RUN LED Indicator
- LED Off – No power or Rain sensing mode is not enabled
- LED On – Rain sensor enabled (but no rain)
- LED Blinking – Rain sensor enabled (and rain is detected)
Rain Mode Indicator
- Off – Manual Operation (Wall switch control by user)
- On – Auto Operation (Sensor board controlling)
Auto Up Indicator (when Rain Mode = Auto Operation)
- Off – Force awning to open up (roll down awning to shelter from rain)
- On – Force awning to close up (roll up awning to prevent damage from wind)
Rain Sensing Controller Schematic
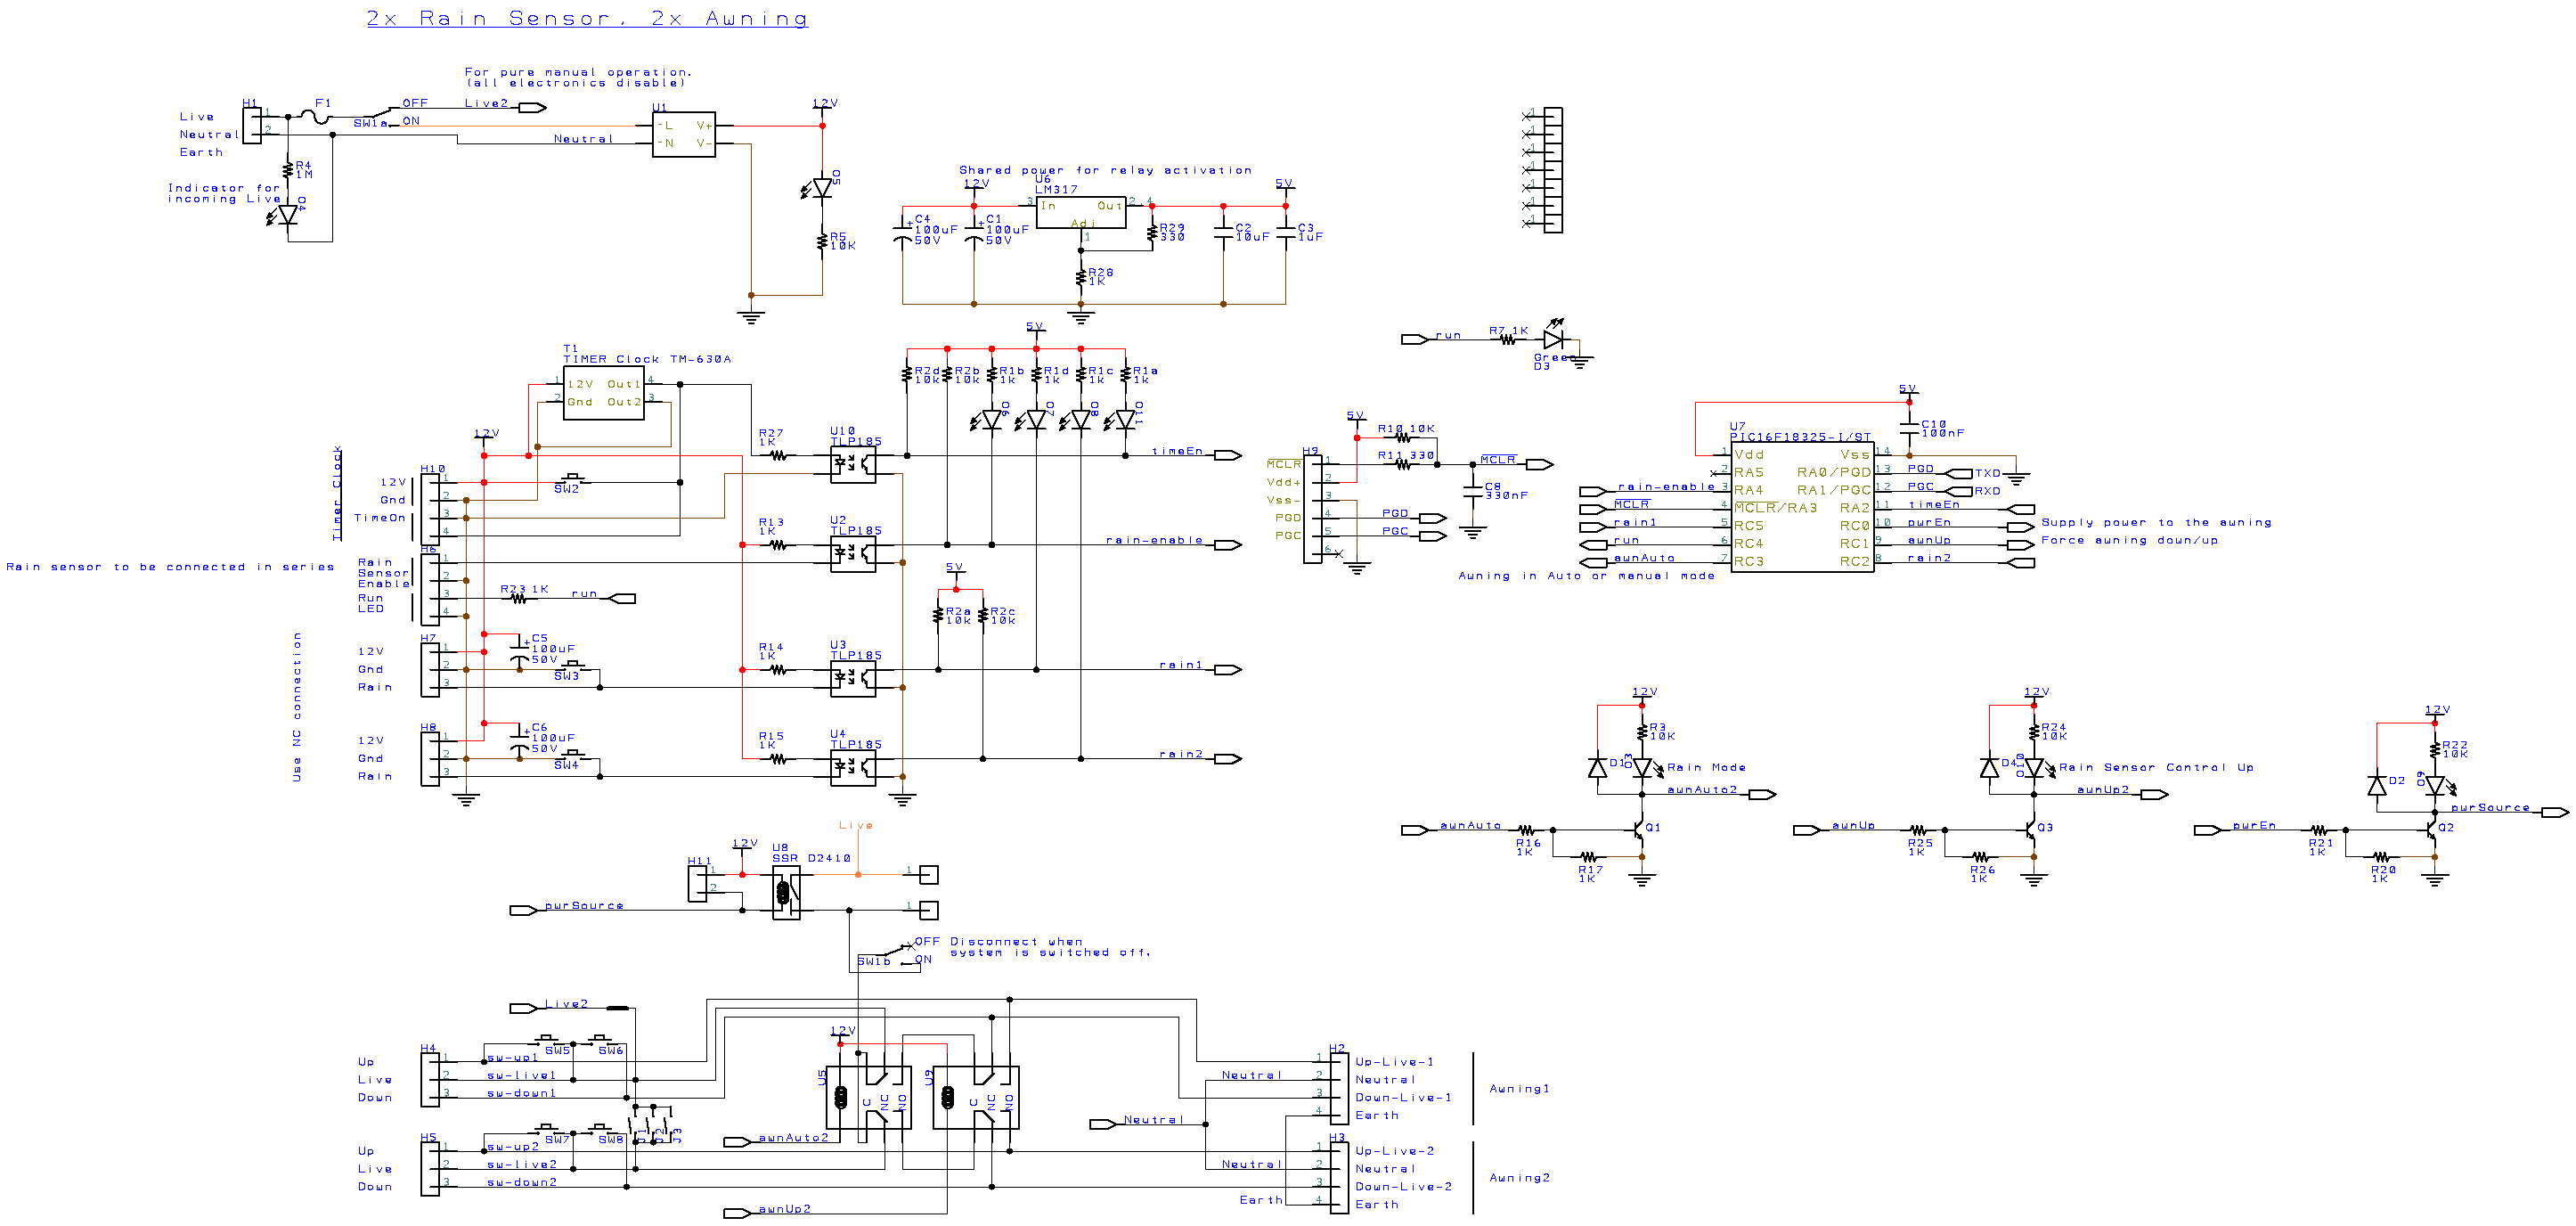
Main Switch Function
The Neutral line is common to all. Live1 is the AC power line when the main switch is in On position (switch is downwards). This will activate the microcontroller and rain sensing electronic to function.
When the main switch is in the Off position (switch upwards), the entire electronic is not power up, and is not in operation. You will only see the green LED for 230Vac faintly lighted up. The rest of the LED are off. In this position the awning get access to direct power connection. This is as if the awning system works manually as normal. The Rain sensor controller is being by-pass. This allows for direct troubleshooting works on the awning without involving the rain sensing controller.
Relay U5
The function of this relay is to divert the incoming 230Vac (through the solid state relay U8) to either the manual control wall switches or to Relay U9 which forces the awning to open up, or roll up. Default relay position is allow manual control from the wall switch.
Relay U9
The function of this relay is to force the awning to open or roll up when Relay U5 is activated. Default relay position is to force awning to open its shelter for sheltering from the rain.
Solid State Relay U8
The function of this relay is to switch off the 230Vac power source while the relay U5 and U9 takes their time to switch. Doing this can prevent the mechanical relay U5 and U9 from contact welding problem. Meaning the relay switch becomes sticky because of the high voltage spark created during the switching. It improve the life span of the mechanical relay.