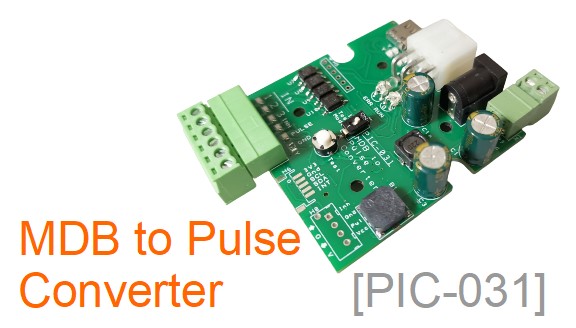
The PIC-031 MDB to Pulse converter provides the interface to convert your old coin acceptor vending machine to accept modern payment mode via the MDB connection.
The board provides a means for you to configure the price that you want to collect based on the button that your customer selects. You can also control the pulse parameter that provides the signal to notify your vending machine to dispense your customer purchase.
This page will show you how you can configure this board to set up the price, and also to configure the pulse number and pulse width to suit your vending machine.
You will need to prepare the following things
- a USB-C cable (with USB type-A to type-C connector)
- a computer/laptop/mobile phone/tablet
- a serial terminal software
In this guide, we are using a computer/laptop and a cloud serial terminal software to configure PIC-031 MDB to Pulse converter board. Please note that you can also use other freely available serial terminal software available. If you are facing issues going through this tutorial, you can try other serial terminal software (presented at the end of this page) or contact us for further support.
Terminal Software
In this example, we are using the serial terminal from Anticyclone Systems. You can open up your internet web browser from your computer/laptop, click and visit this URL page,
https://www.anticyclone-systems.co.uk/aslwebterm.php
This will bring up the following page.
Setup Baudrate
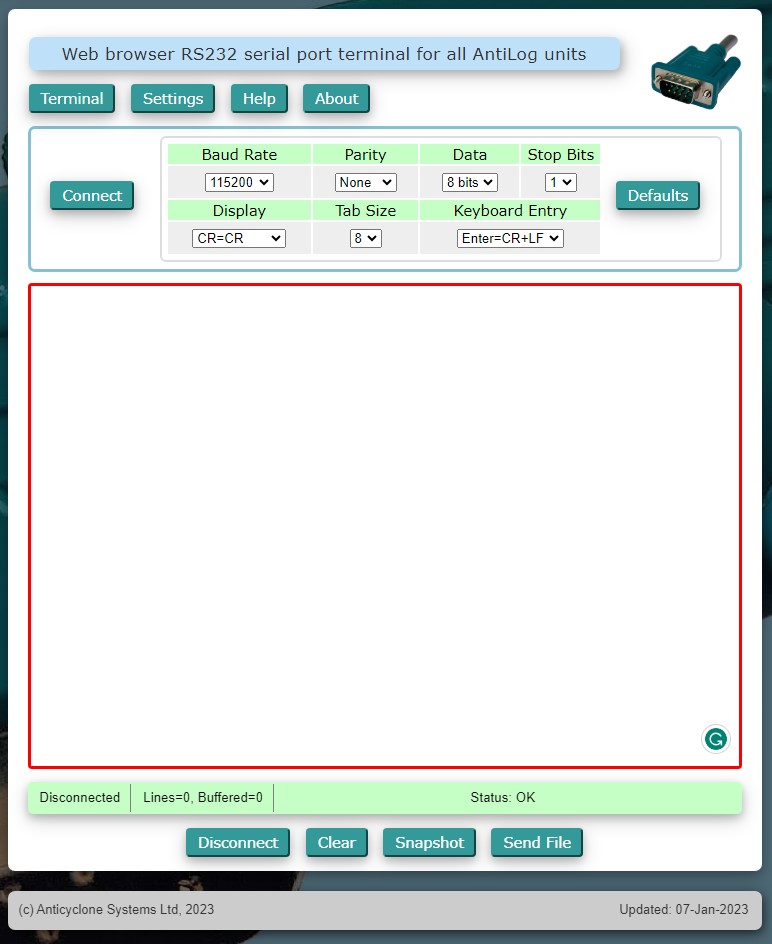
From the drop-down boxes set up the following Baudrate parameters,
- 115200bps
- 1 Stop bit
- No Parity bit
- No Hardware Handshaking
Connect up the board
Connect up the power supply and USB-C cable to the PIC-031 board. The other end of the USB-C cable connects to your computer.
Open Com Port
On the software interface, clicks on the “Connect” button.
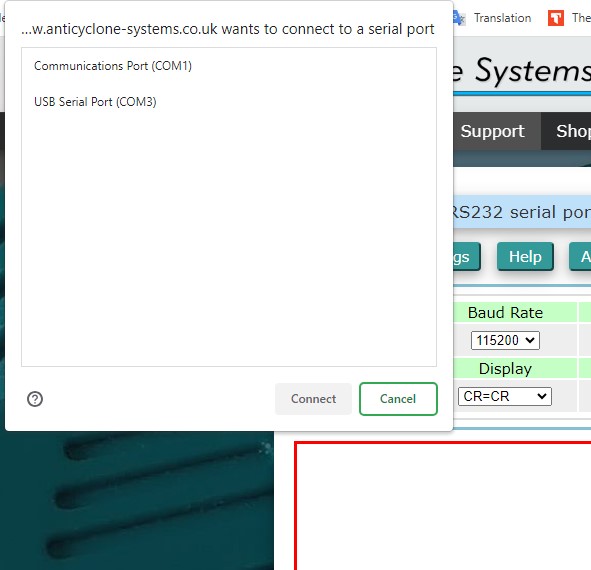
This will bring up a dialog box showing the available COM port devices connected to your computer system.
The PIC-031 will show up as a USB Serial Port device. So in our example, I will select “USB Serial Port (COM3)”.
Then click on the “Connect” button on the dialog box.
Please note that the COM port number in this example is 3. This number is going to be different on every computer or PIC-031 board that is plugged onto your computer. It will change.
If you plug the PIC-031 device to the same computer and the same USB port, this port number is likely to remain the same. It is recommended to plug the device onto the same USB socket.
Power up the PIC-031

After the USB connection is done, proceed to power up the PIC-031 device.
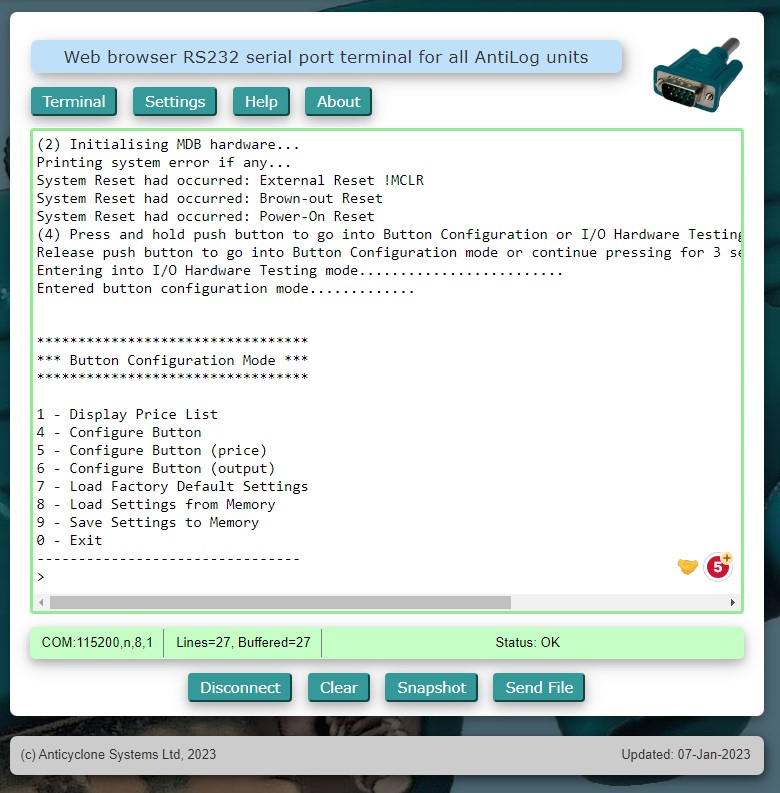
You will notice a stream of text appearing on the serial terminal software. These texts are output from the PIC-031 device.
It also means that the device has successfully connected to the software.
If you read the text generated from the device, you will also see the instruction to enter into the configuration mode.
Entering Configuration Mode
Let’s switch off the power to the board and do a formal procedure to enter into the configuration mode of the PIC-031 board.
- Power off the board.
- Press and hold the push button “Test” on the PIC-031 board
- Power on the board.
- Listen carefully to the board. Once you hear a beep sound from the board, you can release the “Test” button. You will have about 3 sec time to release the button.
- You should see the “Button Configuration Mode” menu printed on the display. This means that you have entered into the configuration mode successfully.
Video demonstration
The following is a quick video demonstration to enter into the device’s configuration mode. This 14sec clip summarizes the steps that we have gone through above.
There is no need to connect up your cashless payment terminal for the device configuration.
Configuring the PIC-031
Once you get into the configuration menu, you can follow the instruction on the screen to do the configuration.
There are 3 buttons which you can set. Each button has 3 parameters for you to set. Namely,
- Amount to collect from customer
- Number of Pulse to output to vending machine.
- Pulse width to output.
Remember to always save the settings before exiting this configuration menu. If not, the factory default settings will be loaded when the board is powered up again. If you just want to temporary set for testing purpose, you need not have to save the settings.
Setting Price
You can set the price from $0.00 all the way to $99.99. Setting the price to zero, means that when you tap your card onto the terminal, the machine gets triggered but no money will be deducted.
For Single-Price mode, you have to set the other 2 unused button’s price to $0.00. The board will operate the button automatically. When the customer tap to make payment with the card, the board will automatically trigger your machine when the payment is transacted successfully.
The unused button can be connected to an admin key switch where the machine operator can use it for testing purposes to trigger the system without having to perform any real transaction.
Setting Pulse Number
You can set the number of output pulses sent to your machine.
For example your machine may interpret a pulse as $1. Three pulses would translate it to $3 detected. Only when enough amount is collected, or enough pulse detected, can your machine be activated. You can set the number of pulses to ensure that your machine gets activated.
Setting the number of pulses to 0 will disable the output. This means that you can accept your customer payment without sending out a pulse to activate the machine. This is something like a donation mode, where customer make payment and no action is needed on the machine.
Setting Pulse Width
Normally you can leave this as the default value. The default value should be able to trigger the majority of the machine in the market. If for some reason, your machine cannot be triggered, you can change the pulse width timing to see if it works on your machine.
A shorter pulse is preferred, as it takes shorter time to activate your machine. This is especially you need multiple pulses to be sent to your machine.
In special cases, you may not be able to trigger your machine after trying out on different pulse width timing. For such a situation, you have to contact us for further guidance to resolve this issue.
Setting Single Price Mode
For certain use case, you only need to collect a single price from the customer. You want the customer to activate your machine by simply tapping their card onto the payment terminal. One tap action from your customer.
You can achieve this setup by having the price set on only one button. The rest of the buttons should set to $0.00. When only one button has the price, the board will automatically activate your machine after the user taps their card for payment on the payment terminal.
Other Serial Terminal Software
You can connect to the device via serial terminal software. There are many types of communication software that are freely available online. Most of them are free to download and use. You can install and operate the software on your computer, mobile phone devices, or from an internet web-browser.
The following are some of the recommended serial terminal software.
- Anticyclone Systems (runs from browser, no installation needed)
- Serial USB Terminal (runs on Andriod OS on mobile phones)
- Windows Hyperterminal program (install on Windows)
- MobaXterm (Windows, Linux)
- Docklight (install on Windows)
Click here to return to the operating page for PIC-031.